
Stamp Carving: the Little Tricks That Make a Big Difference
When you learn a new craft, it usually happens in stages.
First, there’s the phase where you’re simply playing. You explore the materials, enjoy the process, and focus on experimenting and having fun.
Then, if you keep going, you start improving. Bit by bit, you understand the material a little better. Your hands get more confident. You work more fluently with the technique.
And then there’s the third stage—the one where you start discovering the little tricks. The small things that no one necessarily teaches you, but that you figure out over time. The kind of tiny adjustments that make your work look more accurate and intentional.
Since I’m launching a new stamp carving workshop soon, I recently found myself thinking back on all the little tips and tricks I’ve picked up over the years. And I thought it might be nice to share a few of them with you here.
(Psst—if you’re curious about the workshop, you’ll find more details at the end of the article.)

Two Ways to Transfer Your Design
When I first learned how to carve in linoleum, I was taught to use graphite transfer paper.
It definitely works, and lots of people use it. But personally… I never completely got along with it.
The main reason is that the paper isn’t transparent, so positioning the design was mostly guesswork. And since I usually carve several stamps on the same block, getting the spacing right actually matters if I want to make the most of the material. Sometimes it worked, other times… not really.
I experimented with a few different ways, and these days there are two methods that I use all the time.
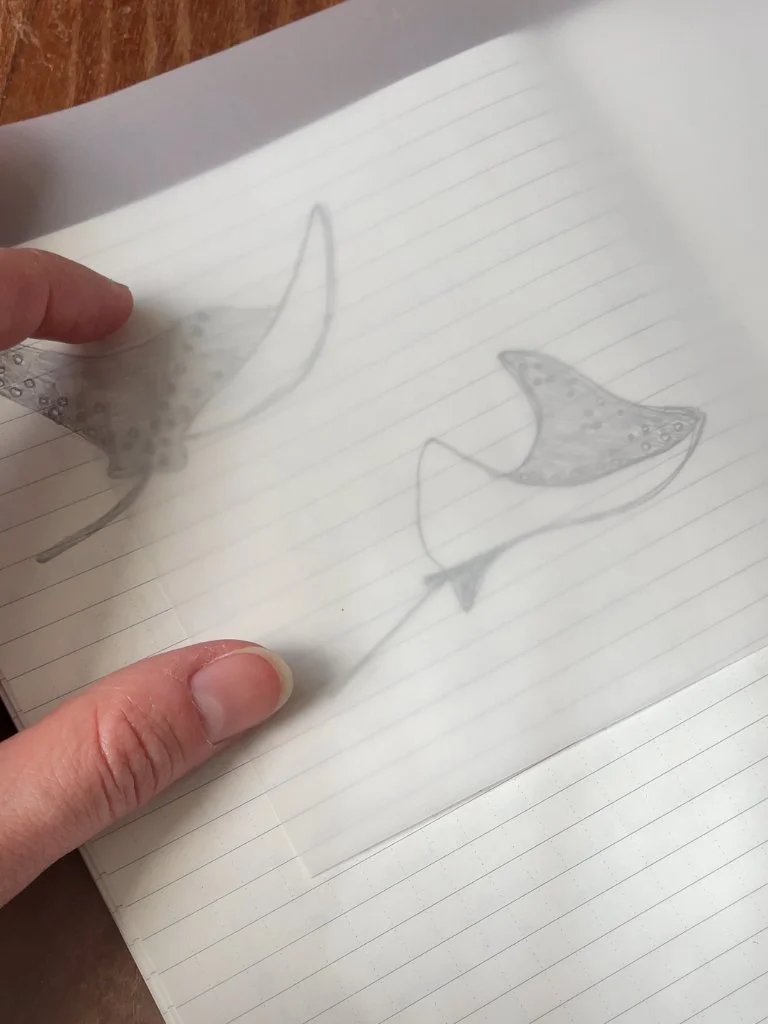
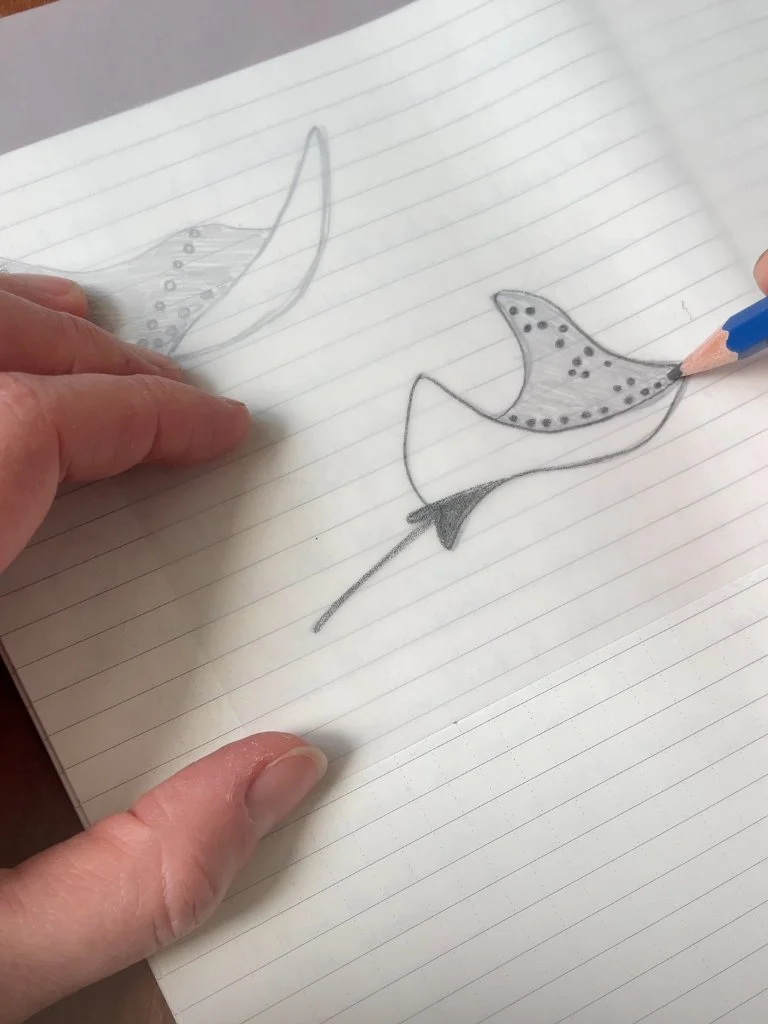
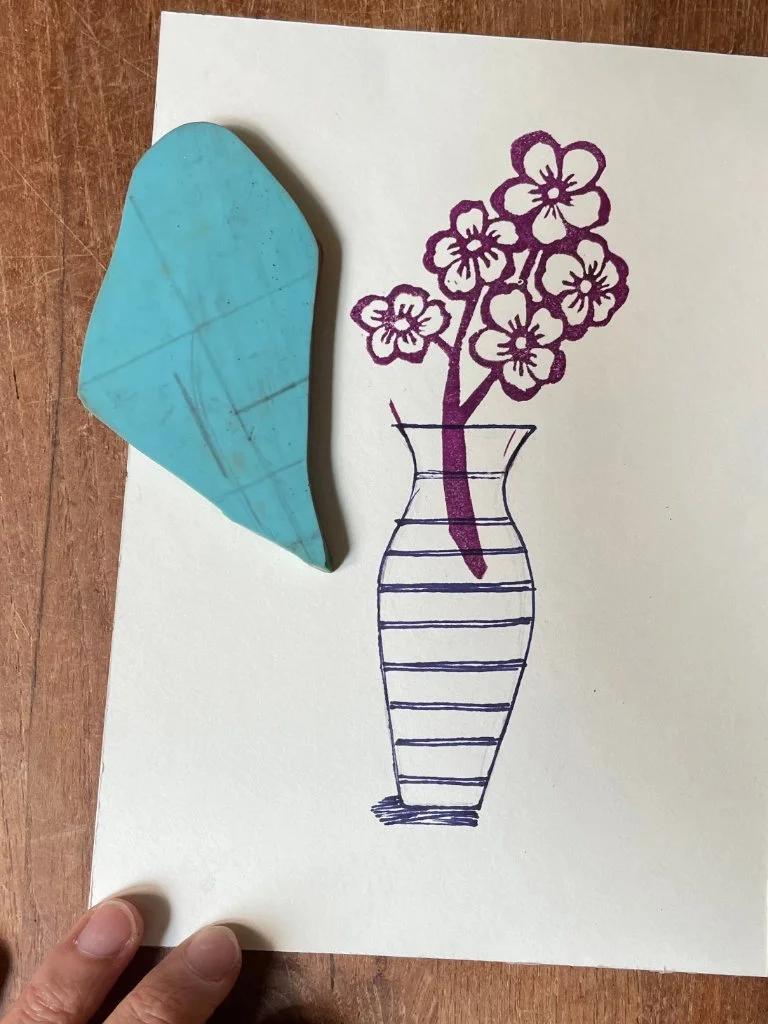
Transferring a Hand-Drawn Design
If I have a hand-drawn sketch that I want to turn into a stamp, I usually reach for tracing paper.
Here’s what I do:
I place a sheet of transparent tracing paper over my drawing.
I trace the drawing with a pencil (a sharpened B2-B6 works best).
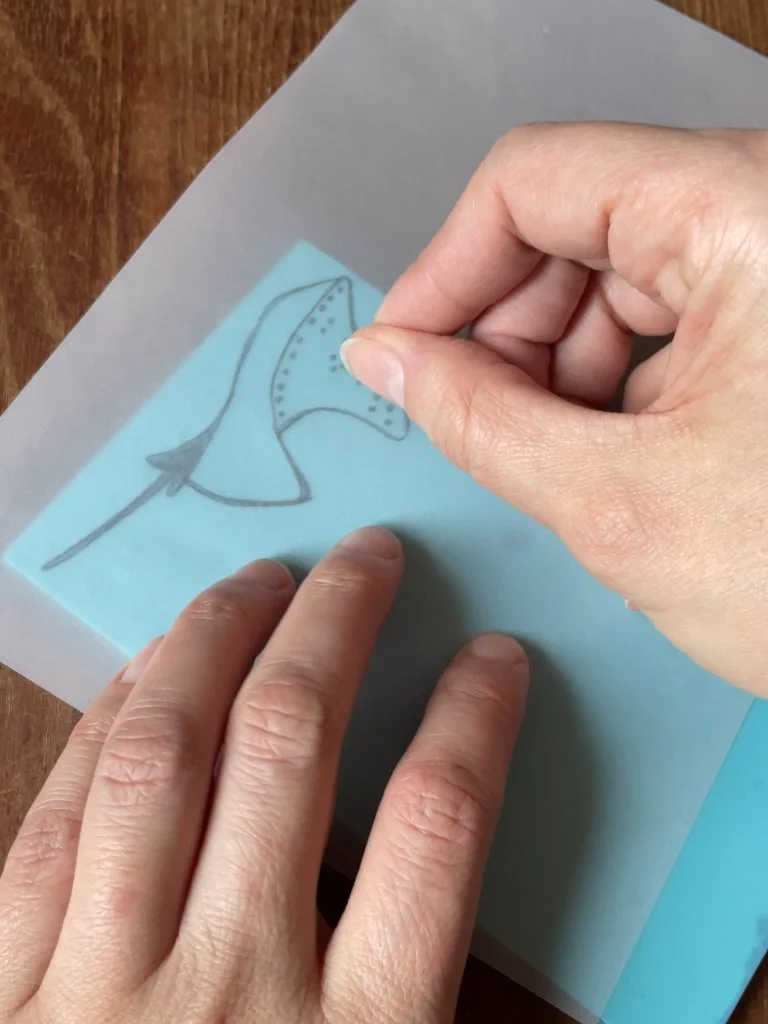
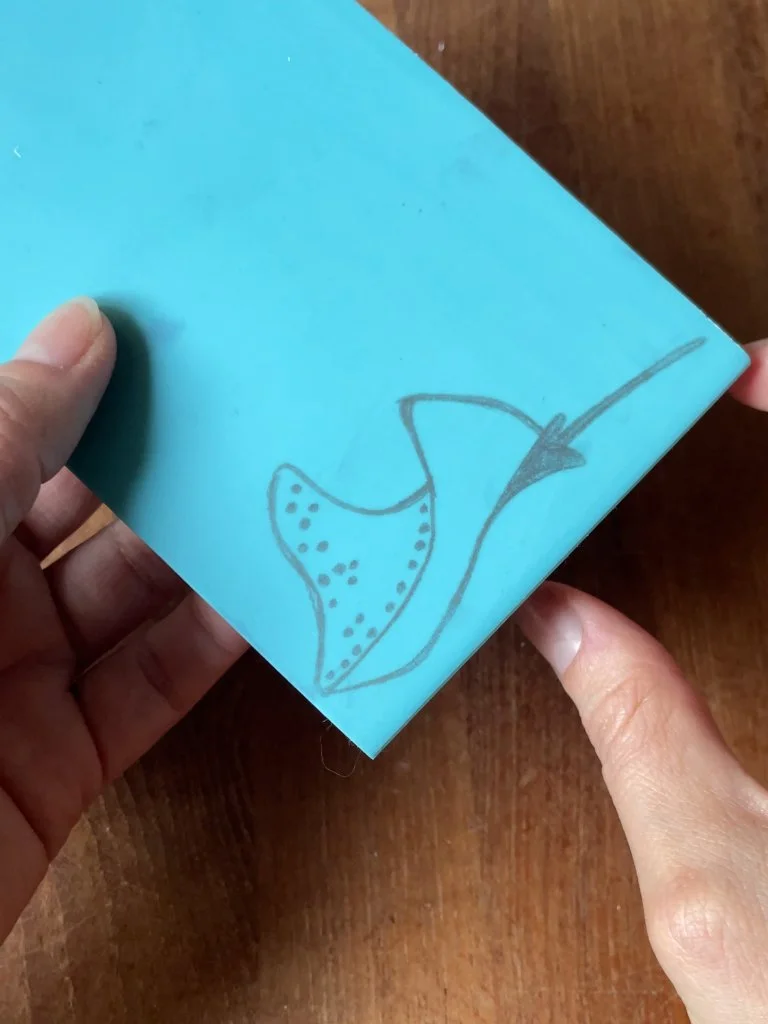
Then I flip the tracing paper upside-down onto my carving block so the drawing faces the rubber.
I rub the back of the paper to transfer the graphite onto the block.
It’s simple and very reliable. Also, because the paper is transparent, it’s much easier to position your design exactly where you want it. Saves a lot of frustration.
Transferring a Digital Design
You can absolutely use the tracing method above for digital designs too—simply print your design and trace it.
But if you have access to a laser printer, there’s a little shortcut I really like.
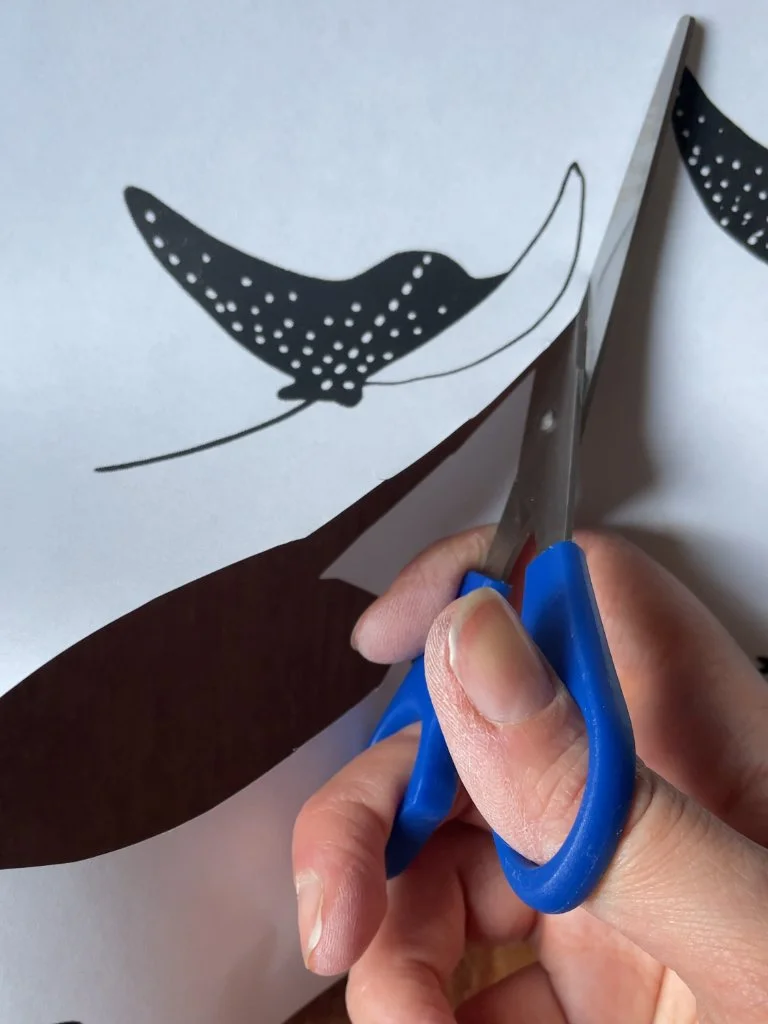
Print your design using a laser printer.
Cut out the illustration.
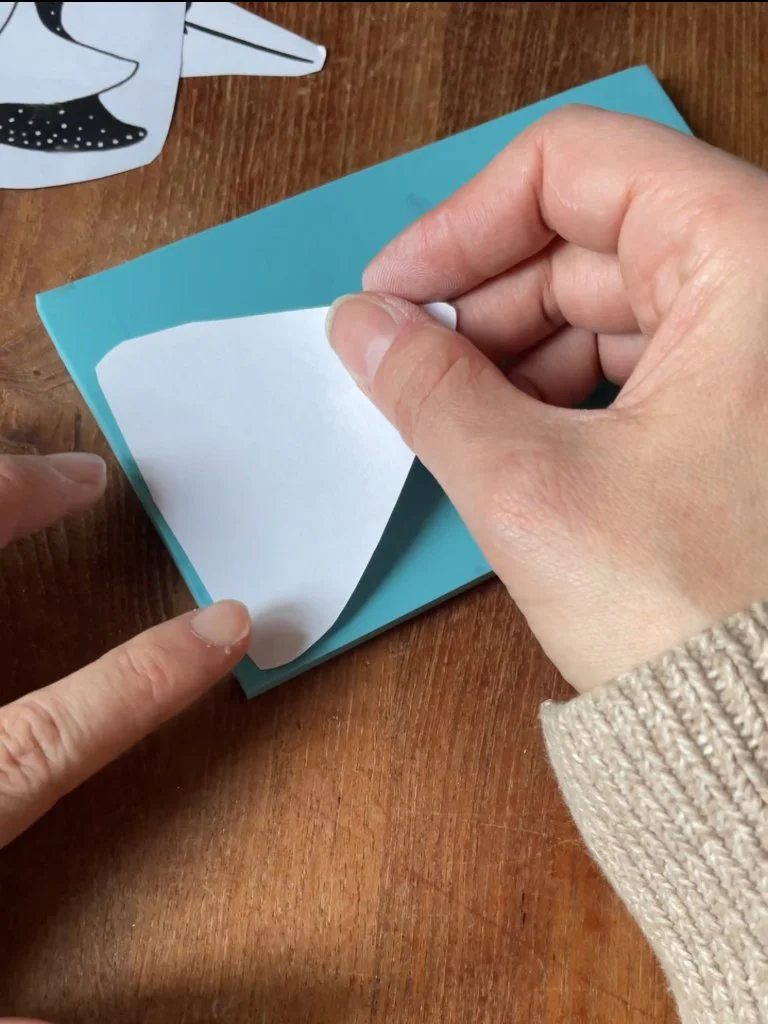
Place it face down on your carving block.
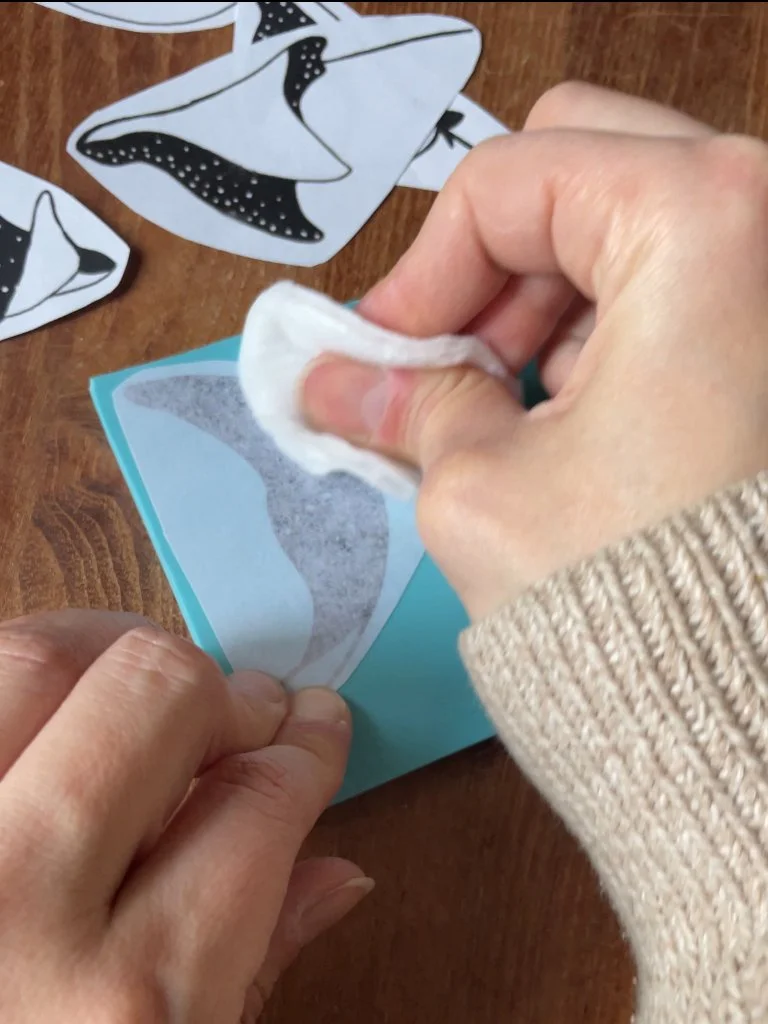
Soak a cotton pad with rubbing alcohol or acetone and rub the back of the paper.
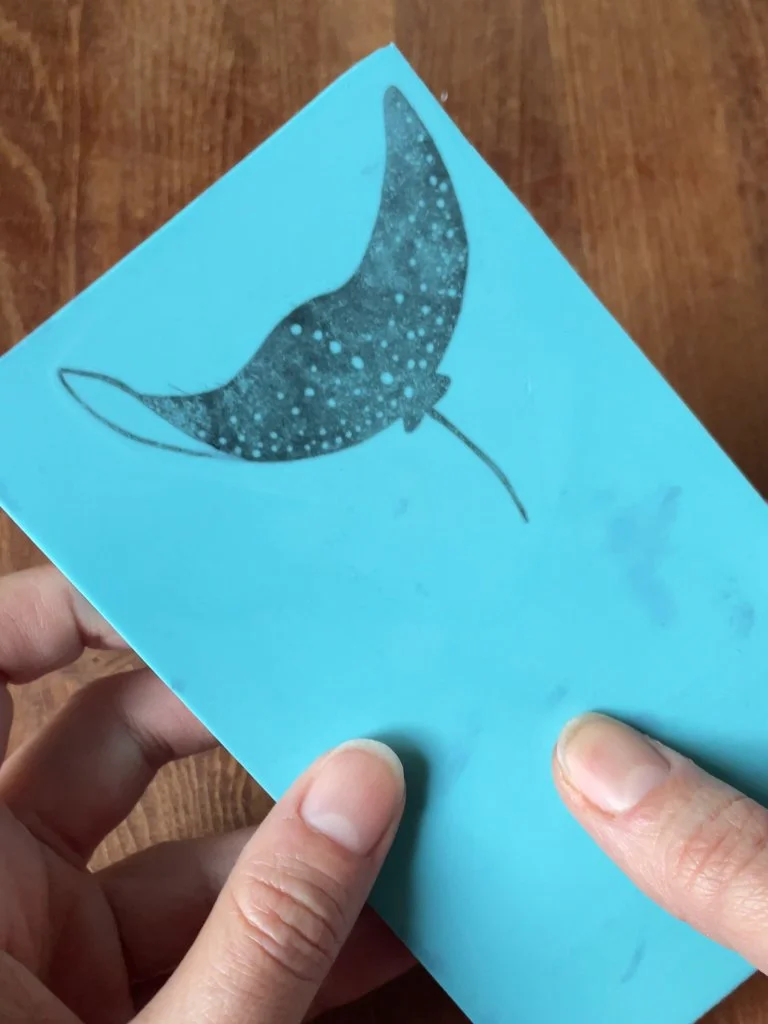
Lift the paper and see what happened.
A few strong and firm rubs usually work better than rubbing for a long time.
The first time you try this technique, it might not come out perfectly. It takes a couple of tries to understand how much pressure to use and how long to rub.
Also, a lot of little things influence the result: the carving material, the alcohol, the printer, even the paper.
But the good news is that nothing is ruined if it doesn’t work the first time.
If a transfer looks messy—just wipe it off with a bit of alcohol, let the block dry, and try again.
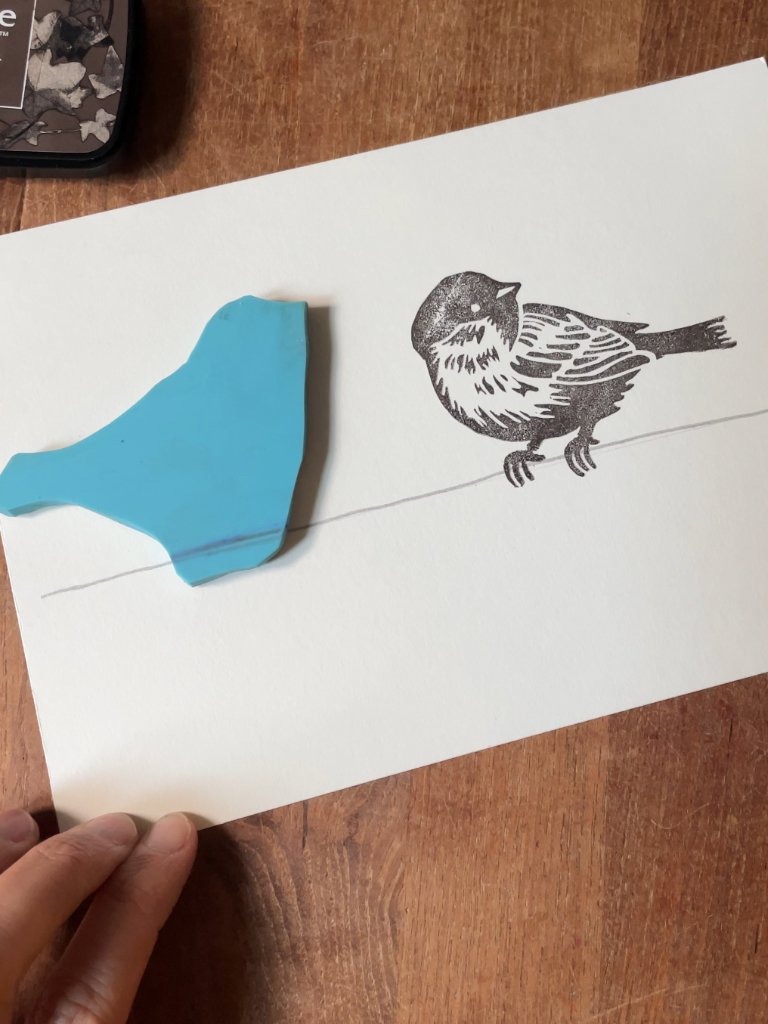
A Small Step Before Printing
This is a tiny step that I like to do before I start printing, and it makes a surprising difference.
After carving a stamp—I clean it.
Carving leaves lots of tiny rubber crumbs behind, and often the transfer material is still on the surface. If you start printing right away—those things can get in the way.
So before printing I do two quick things:
I use a soft toothbrush to brush away any leftover rubber pieces.
I then rub the stamp lightly with rubbing alcohol to remove pencil marks or laser toner.
This helps the ink sit more evenly on the stamp—which results in a better printing.
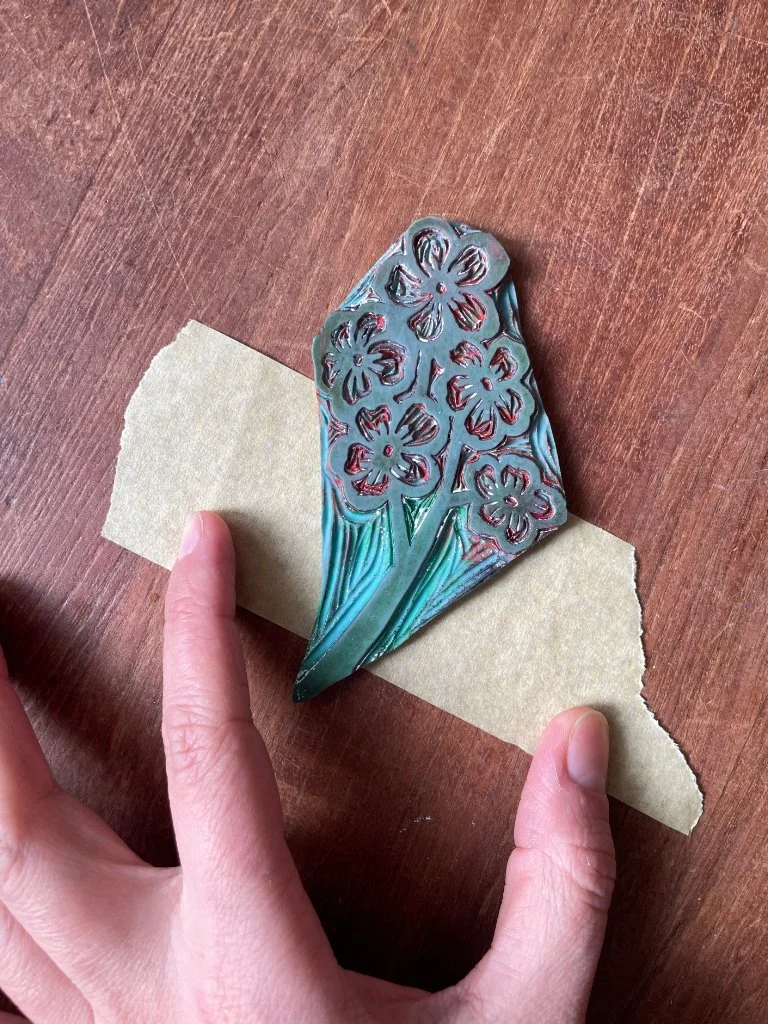
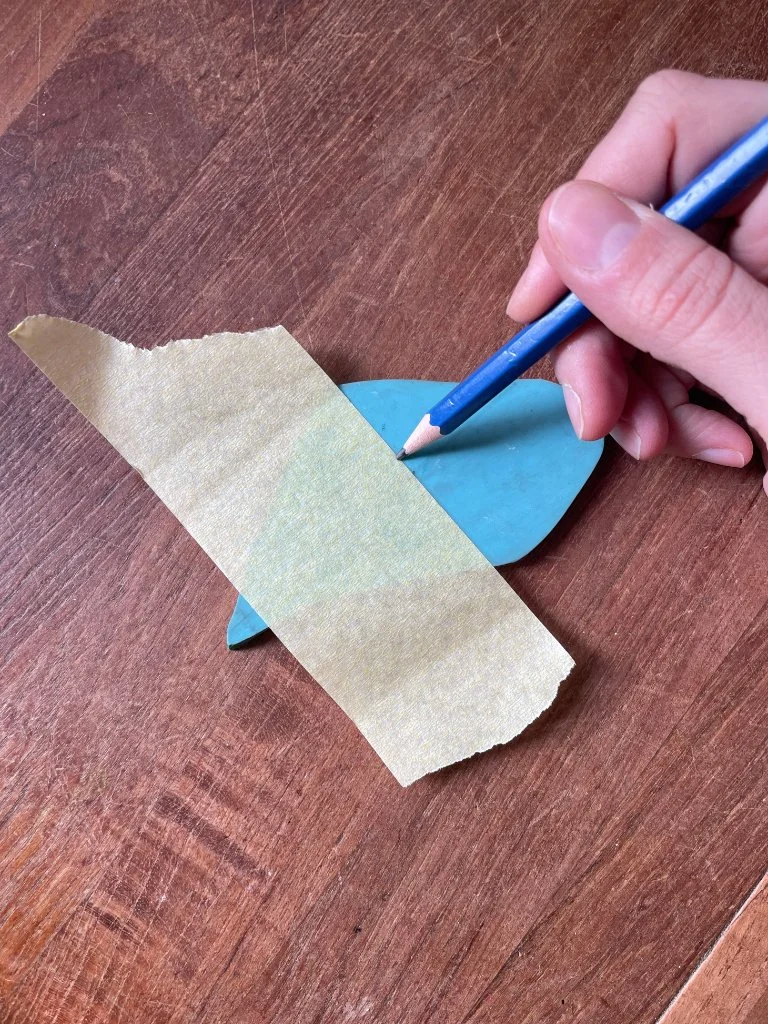
A Trick For Placing Your Stamp
Sometimes you want your stamp to land exactly in a specific spot. Maybe you’re aligning elements, maybe you’re printing in the center of a garment.
What helps me is adding small guide marks on the back of the stamp. For example a horizontal line so you know the right angle to place your stamp in, or a cross that marks a certain point on the stamp. These marks act like little orientation helpers when you place the stamp on your fabric.
How I mark the stamp:
I place a piece of masking tape on the table with the sticky side facing up.
I press the stamp onto the tape so the edge of the tape sits exactly where I want the guide mark.
Then I flip the stamp upside-down
I draw the mark on the back of the stamp
And finally I remove the tape.
It’s a tiny thing that makes the work so much easier.
A little while ago I shared a video tutorial on Instagram, you can watch it here
That’s it for now! If you try any of these, I hope they make your carving process a little smoother.
If you’d like to explore all of this together, the stamp carving workshop I mentioned at the beginning will take place in Berlin on April 25th.
You can find all the details and sign up here
And of course, if you have any questions about any of the above—feel free to leave them in the comments.